
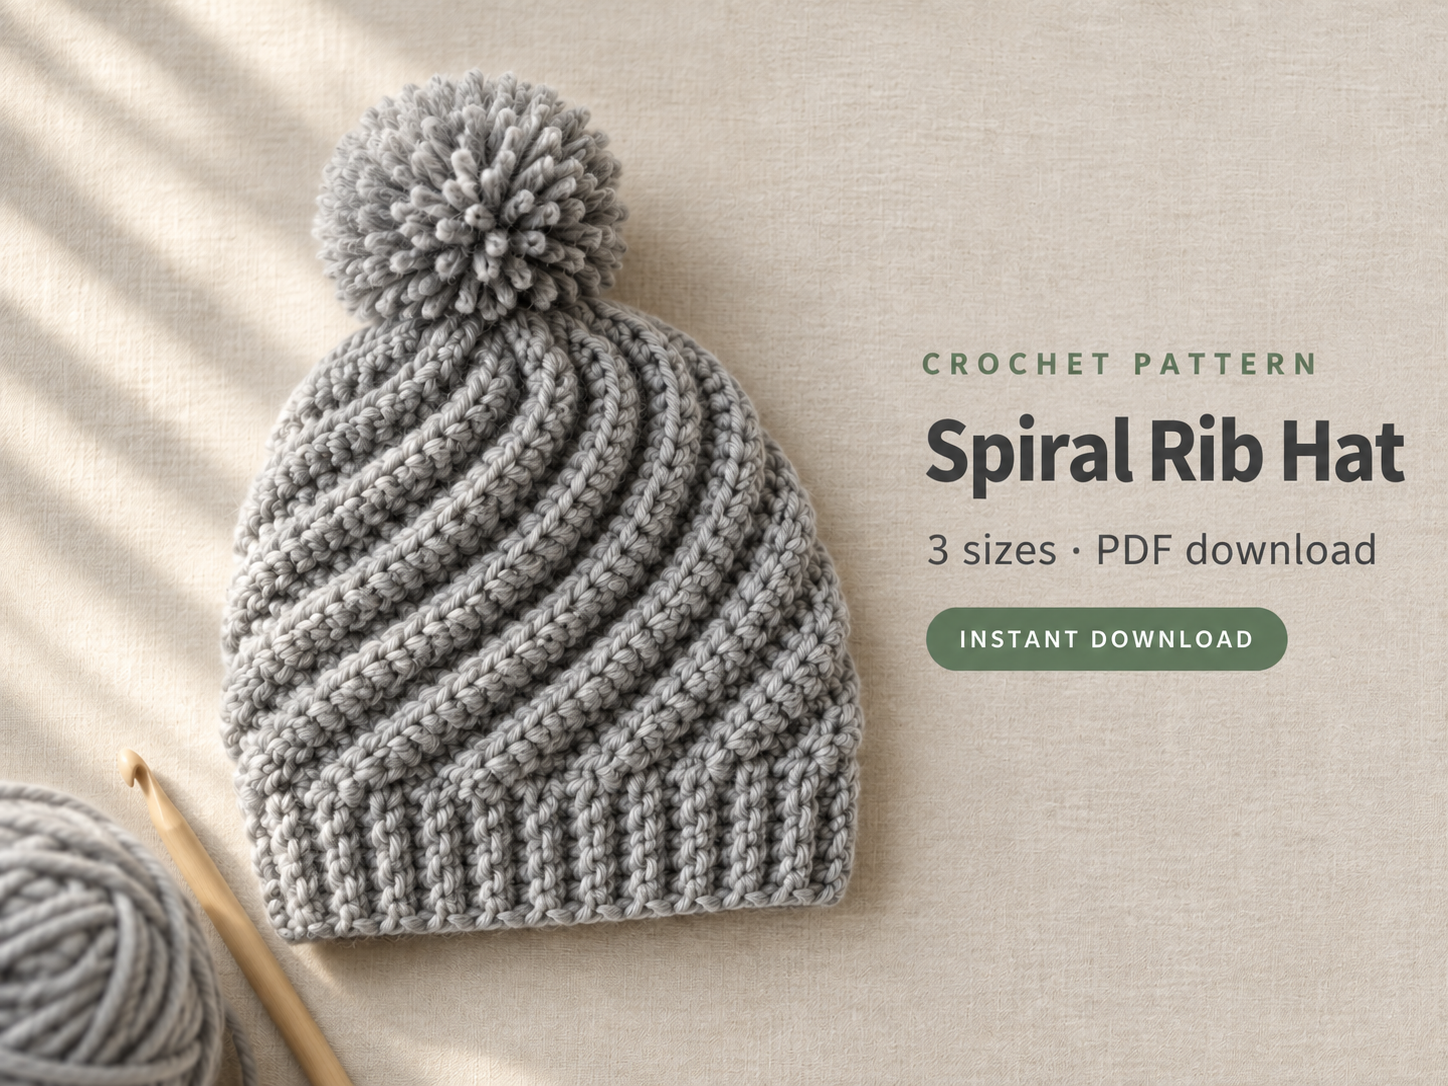
Most crochet hats look like crochet hats. Stacked rounds, visible seam line where the joins pile up, that slightly flat texture.
This one looks knitted, and it twists.
The whole trick is one change. You put every stitch into the third loop of the stitch below, instead of the usual two. That pushes the ridges sideways as you work. And because the rounds spiral rather than join, the ridge keeps travelling. So by round five you have a rib that corkscrews from the crown all the way down to the brim.
There is no seam, no turning, and no decreasing. First you increase to your stitch count. Then you work the same stitch until the hat is deep enough.
About two hours for an adult size.
Etsy Shop to purchase Crochet Patterns
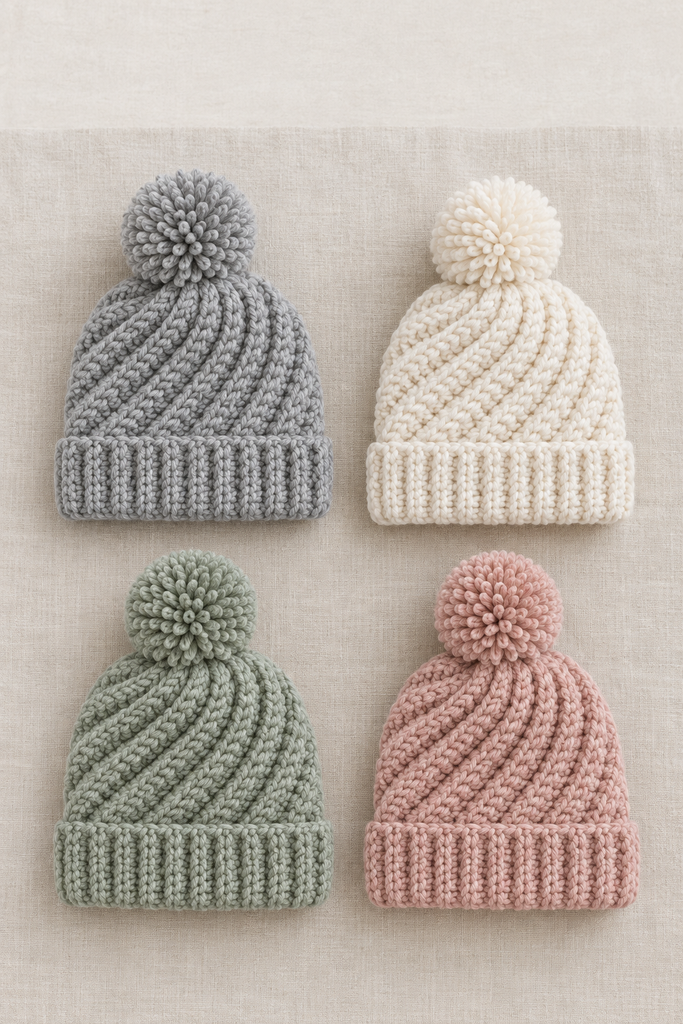
What You’ll Make
| Size | Fits head | Stitches | Depth |
|---|---|---|---|
| Child (3 to 8) | 19 to 20 in | 48 | 6.5 in |
| Tween (9 to 14) | 20.5 to 22 in | 54 | 7.5 in |
| Adult | 22 to 23 in | 54 | 9 in |
Tween and Adult share a stitch count and differ in depth. That is deliberate, not a typo. Head circumference barely changes after about twelve, but how far down you want the hat to sit changes a lot.
Skill level: advanced beginner. You need the magic ring, hdc, and increases.
Materials
- Chunky weight (5) yarn. About 130 yds for Child, 165 yds for Tween, 200 yds for Adult. One to two balls.
- 8.0mm (L/11) hook
- Stitch marker
- Blunt tapestry needle and scissors
- Optional pompom
Yarn note: a smooth solid chunky yarn shows the spiral best. Avoid anything fuzzy, because the ridges are the whole point and fluff hides them completely. A light or mid colour reads better than black for the same reason.
Abbreviations
US crochet terms throughout.
| Short form | Full term |
|---|---|
| MR | Magic ring |
| hdc | Half double crochet |
| TL | Third loop |
| inc | Increase, 2 hdc in the same stitch |
| sl st | Slip stitch |
| st(s) | Stitch(es) |
| rnd(s) | Round(s) |
| ( ) x 6 | Work the bracket 6 times |
| { } | Stitch count at the end of that round |
[“Full US and UK abbreviations chart”]
Gauge
10 hdc and 8 rnds = 4 in (10 cm) in third-loop hdc worked in rounds.
Swatch this. A hat either fits or it does not, and unlike a blanket you cannot just call a too-small one “a different size”. Work a small flat swatch in third-loop hdc and measure it before you start.
If you are getting more than 10 stitches to 4 inches, go up a hook size. Fewer, go down.
Why Top-Down Beats Bottom-Up for Hats
Most crochet hat patterns start at the brim and work upward, then decrease sharply to close the crown. That approach has two problems.
First, those crown decreases bunch. As the circle narrows, the stitches crowd together and the top of the hat often ends up slightly pointed or puckered instead of smoothly domed.
Second, you cannot adjust the fit once you have committed. Your brim is your circumference, and by the time you notice it is wrong you have knitted most of the hat.
Working top-down solves both. You start at the crown with a flat circle, so you can lay it on the table and check it is lying properly before you go any further. If it cups or ruffles, you know immediately and you have lost ten minutes rather than an evening.
Better still, the depth stays adjustable right to the end. Because you finish at the brim, you can simply keep going for another round or two if the hat looks short. No unpicking, no guessing.
So the order of operations here is: get the circle right, then get the depth right. Two separate decisions instead of one irreversible one.
The Third Loop (this is the whole pattern)
Every half double crochet has the two loops you normally work into, sitting on top. It also has a third horizontal bar, tucked just behind and below them.
That bar is the third loop. Every stitch in this pattern goes into it.
Why it creates a spiral
When you work into the third loop, you leave the two top loops unworked. So they sit on the surface of the fabric as a raised ridge.
Do that in joined rounds and you get neat stacked ridges. Now do it in a continuous spiral instead. Each round starts one stitch further along than the last, so the ridge shifts sideways every single round. Stack enough of those and the ridge corkscrews around the hat.
That is it. In other words, one loop changes the whole texture.
How to find it
Tip the work slightly away from you and look at the back of the stitch tops. The bar runs horizontally across the back of each stitch.
When you are working a spiral round, it faces you. And once you have found it on the first few stitches, your hook starts finding it automatically.
A warning. However, if your rounds come out flat and stacked rather than spiralled, you worked into the top two loops instead. That is the single most common thing that goes wrong here. Unfortunately there is no fixing it after the fact.
Before You Start
Work in a continuous spiral. Do not join. Do not chain at the end of a round. Instead, just keep going into the next stitch.
Use a stitch marker in the first stitch of every round and move it up as you go. Because there is no join, this is the only way to know where a round starts.
Work round 1 through both loops as normal, into a magic ring. After that, every round from 2 onward uses the third loop.
Rounds 1 and 2 are the fiddliest part of the whole pattern. Chunky yarn in a magic ring is awkward. But once you are past them, it is the same stitch for the rest of the hat.
Never made a magic ring? [“Here is the step by step“].
The Pattern
The numbers below give the Child size first. Tween and Adult follow in brackets: 48 (54, 54).
Crown
Rnd 1: 6 hdc in MR. Pull the ring closed. {6}
Rnd 2: inc in TL of each st around. {12}
Rnd 3: (hdc, inc) x 6. {18}
Rnd 4: (2 hdc, inc) x 6. {24}
Rnd 5: (3 hdc, inc) x 6. {30}
Rnd 6: (4 hdc, inc) x 6. {36}
Rnd 7: (5 hdc, inc) x 6. {42}
Rnd 8: (6 hdc, inc) x 6. {48} — Child stops increasing here
Rnd 9: Tween and Adult only. (7 hdc, inc) x 6. {54}
Your crown should now be a flat disc that lies down on a table without cupping or ruffling. If it domes upward, your tension is too tight. Alternatively, if it ripples at the edge, you have too many stitches.
Body
Next rnd: hdc in TL of each st around. {48 (54, 54)}
Now repeat that round until the hat measures 6.5 (7.5, 9) in [16.5 (19, 23) cm] from the crown. That is roughly 7 (8, 11) straight rounds.
Measure, do not count. Yarn and tension vary between people. The tape measure does not.
The spiral becomes obvious around the fourth or fifth straight round. Before that, it can look like it is not working. Keep going anyway.
Levelling off
Because the rounds spiral, your last round ends higher than it began. That leaves a visible step at the brim. So this final round evens it out:
Final rnd: hdc in TL of next 2 sts, then sl st in TL of next 2 sts. Fasten off, leaving a 6 in tail.
Finishing
Close the crown. The magic ring leaves a small opening at the top. Thread the starting tail onto a tapestry needle, run it through the 6 stitches of Rnd 1, pull tight, then weave in.
Weave in every end through the back of several stitches, changing direction at least twice. Hats get pulled on and off constantly and a single-direction weave works loose.
Pompom
Wind yarn around four fingers about 80 times. Slide the bundle off, tie a separate length tightly around the centre, then cut through the loops on both sides. Trim to a round shape and sew to the crown.
Pull that centre tie as tight as it will go. A loose tie is the reason pompoms shed.
For a child’s hat, use a faux fur pompom on a snap instead, so the hat can go in the wash without wrecking it.
Variations
| Variation | What to change |
|---|---|
| Slouchy | Work 3 to 4 extra straight rounds. Nothing else changes |
| Folded brim | Add 2 in of straight rounds and turn the edge up |
| Two-tone | Change colour at the start of a round every 4 rounds. The stripes follow the spiral instead of sitting flat |
| No pompom | Leave it off. The gathered crown is neat on its own |
| Worsted weight | Use a 5.5mm hook and rework your gauge. Roughly 1.5x the stitch count |
The two-tone version is the one worth trying. Because the rounds spiral, colour changes produce diagonal stripes rather than horizontal bands, which looks far more deliberate than it is.
Make It Fit Anyone
Two numbers control the hat.
Stitch count sets the circumference. Each extra increase round adds 6 stitches, which is about 2.4 inches.
Straight rounds set the depth. Add or remove them any time before fastening off.
To fit any head, follow these four steps:
- Measure the head all the way around, at the forehead.
- Subtract half an inch.
- Multiply by 2.5.
- Round to the nearest multiple of 6.
That number is your stitch count. Simply work increase rounds until you reach it, then go straight down.
Troubleshooting
My rounds look flat, not spiralled. You worked into the top two loops instead of the third loop. The exposed top loops are what create the ridge.
I cannot find the third loop. Tip the work away from you and look at the back of the stitch tops. It is the horizontal bar sitting just below and behind the two loops you normally use.
My crown is cupping. Either your tension is too tight, or you missed an increase. So check your count against the number in brackets at the end of each round.
My crown is ruffling. This means too many increases. Count back to the last round you are certain of.
I lost my place in the spiral. Find the marker first. If it fell out, look for the point where the round steps up by one stitch. That is your round start.
The hat is too shallow. Simply add straight rounds. You can add them any time before fastening off.
Care
Check your yarn label first. Most chunky acrylic goes in the machine on a cool delicate cycle. However, wool blends usually need hand washing.
Either way, dry flat rather than hanging. Otherwise a wet hat stretches out of shape, and the ribbing never quite recovers.
Do not tumble dry. Heat flattens the spiral ridges that make this hat look the way it does.
FAQ
What is the third loop in crochet?
The third loop is a horizontal bar sitting just behind and below the two top loops of a half double crochet stitch. When you work into it, the top loops stay on the fabric surface as a raised ridge. This creates a knit-like ribbed texture.
Why does my crochet hat spiral?
Because the rounds run continuously rather than joining. Each round begins one stitch further along than the last. So the raised ridge shifts sideways every round and gradually corkscrews around the hat. In this pattern, that is intentional.
How much yarn does a chunky crochet hat use?
About 130 yards for a child’s size and 200 yards for an adult in chunky weight yarn. One to two standard balls covers any size in this pattern.
Can I crochet a hat without decreasing?
Yes. Working top-down from a magic ring means you increase outward to your stitch count and then work straight to the brim. There are no decreases anywhere in this pattern.
What size hook for a chunky crochet hat?
An 8.0mm (L/11) hook with chunky weight (5) yarn. Chunky yarn labels often suggest a larger hook, but a slightly smaller one gives a denser fabric that holds the ribbed texture better.
Why is my crochet hat too tight?
Usually too few stitches for the head, or tension that is tighter than the stated gauge. Chunky third-loop fabric has limited stretch, so match the gauge and pick the size closest to the actual head measurement rather than under it.
Can I sell hats made from this pattern?
Yes, sell finished hats freely. Please do not copy or redistribute the written pattern itself. A link back is always appreciated.
Go Make One
Two hours, one ball of chunky yarn, and one stitch you already know worked into a loop you probably did not.
The third loop is worth learning regardless of whether you make this hat. It works on cowls, bags, baskets and blanket edges, and it is the fastest way to make crochet look less like crochet.
Want the printable version? [“Get the ad-free PDF with step photos“] — four pages, all three sizes, every step photographed.
If you make one, tag me or send a photo through the [contact page“].
