


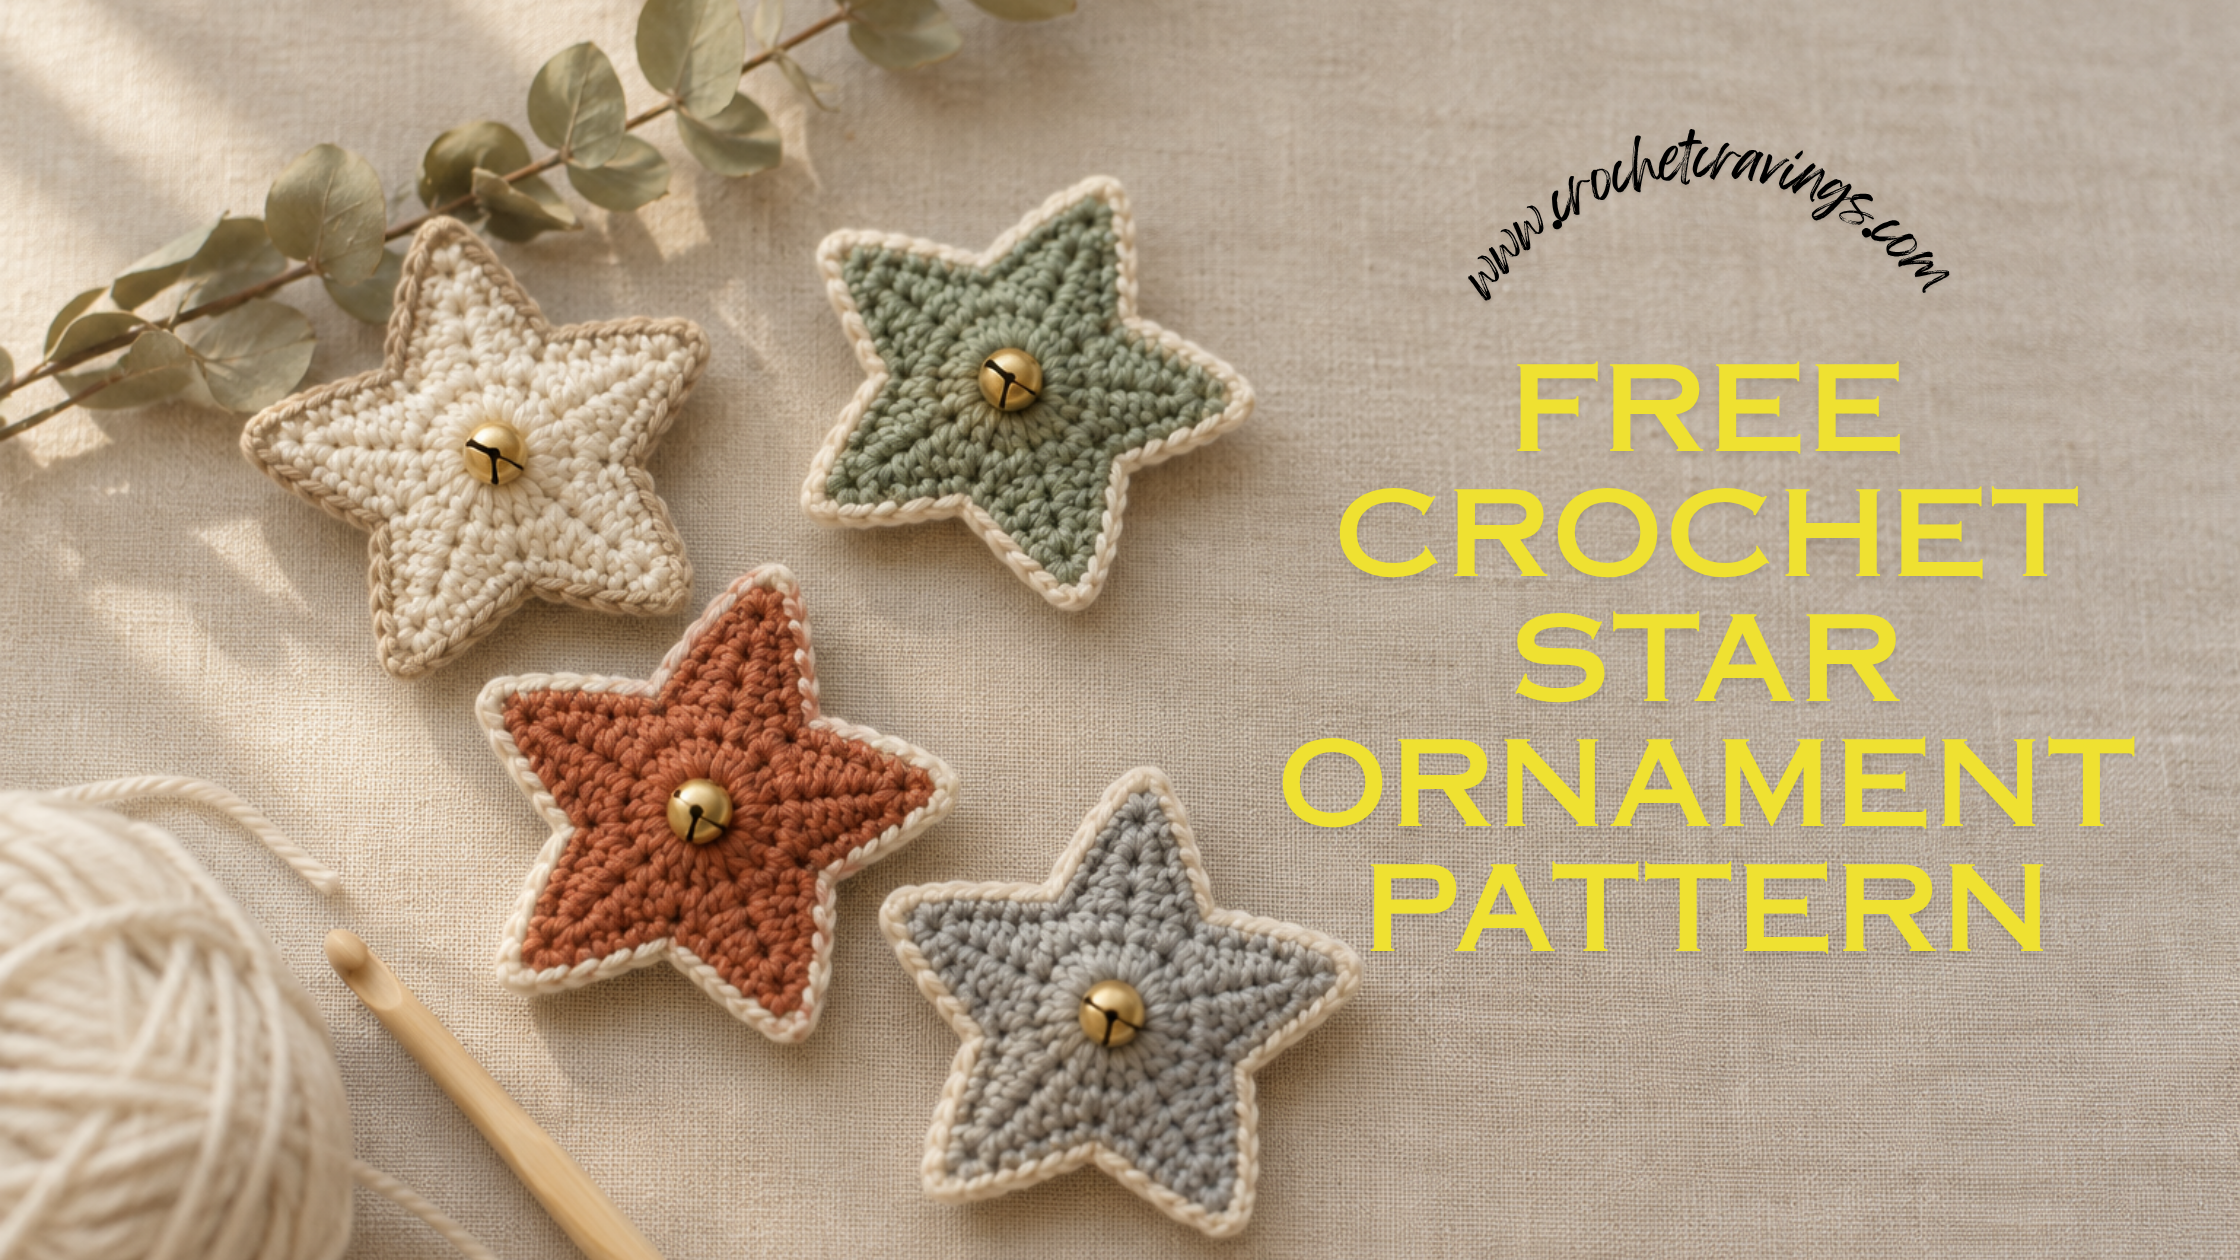
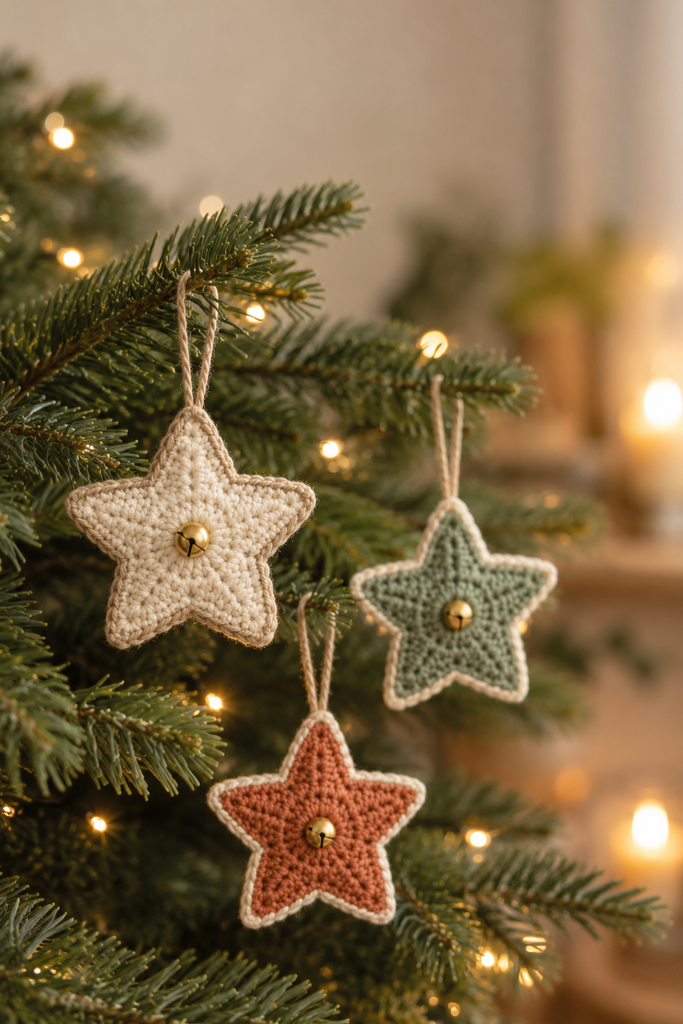
A crocheted star is a nice ornament. A crocheted star that chimes when the tree gets bumped is something people remember.
This one is five pointed, about four inches across, and takes roughly thirty minutes once you have made the first. There is a small bell stitched at the center, so it rings whenever the branch moves.
The construction is the interesting part. Most crochet stars are worked flat and then shaped, which gives you five points of slightly different lengths and a lot of fiddling to fix it. This one builds a small circle first, then grows each point out of the circle as a separate chain worked back down. Every point comes out identical because every point is made the same way.
New to working in the round? Learn the Magic Ring first, since the whole star starts with one.
What You’ll Make
| Finished size | About 4 in (10 cm) point to point |
| Time | 30 to 40 minutes |
| Skill level | Advanced beginner |
| Yarn used | Around 25 yds |
What you need to know already: magic ring, single crochet, slip stitch, half double crochet, double crochet, and chains. Nothing more complicated than that.
A Note on Color
Most star ornaments are red, green, or white. I went a different way with these.
The set in the photos is oatmeal cream, sage green, terracotta and soft gold, which reads as Scandinavian winter rather than traditional Christmas. The advantage is that they stay up past December. A sage and oatmeal star looks right on a mantel in February in a way a red one does not.
If you want traditional, the pattern works identically in cranberry and forest green. But if your tree is already full of red, a tree of muted neutrals with gold bells looks considered rather than sparse.
Pick your bell to match. Gold bells on cream and terracotta. Silver bells on sage and gray. The bell is the only shiny thing on the ornament, so it carries more visual weight than its size suggests.
Materials
- DK weight (3) cotton yarn, about 25 yds per star
- 3.5mm (E/4) hook
- One 10mm jingle bell per star, with a closed sewing loop
- Blunt tapestry needle, scissors
- Optional: five 6mm bells for the tip variation
Why cotton and why a small hook. Cotton holds a crisp edge and does not stretch out of shape hanging on a branch for six weeks. The 3.5mm hook is deliberately smaller than the label suggests, because a dense fabric keeps the points sharp. A star worked loosely droops at the tips, and no amount of blocking fixes it permanently.
On the bell. Buy bells with a closed loop rather than a split ring. A split ring snags yarn and eventually works itself free, which on a tree ornament means a bell on the floor and a cat with a new toy.
Full beginner tool and yarn guide
Abbreviations
US crochet terms throughout.
| Short form | Full term |
|---|---|
| MR | Magic ring |
| ch | Chain |
| sl st | Slip stitch |
| sc | Single crochet |
| hdc | Half double crochet |
| dc | Double crochet |
| st(s) | Stitch(es) |
| R | Round |
| ( ) x 5 | Work the bracket 5 times |
| { } | Stitch count at the end of that round |
Full US and UK abbreviations chart
Pattern Notes
Rounds 1 to 4 are worked in a continuous spiral. Do not join, do not chain. Use a stitch marker in the first stitch of each round and move it up.
Round 5 is where the points happen, and it is worked differently from everything before it. Read that section once before you start it.
Count every round. The number in curly brackets tells you what you should have. The point round depends on having exactly 20 stitches, so a miscount earlier means five points that do not fit.
Keep your tension tight. Tighter than feels natural. Sharp points come from dense fabric.
The Pattern
The Center Circle
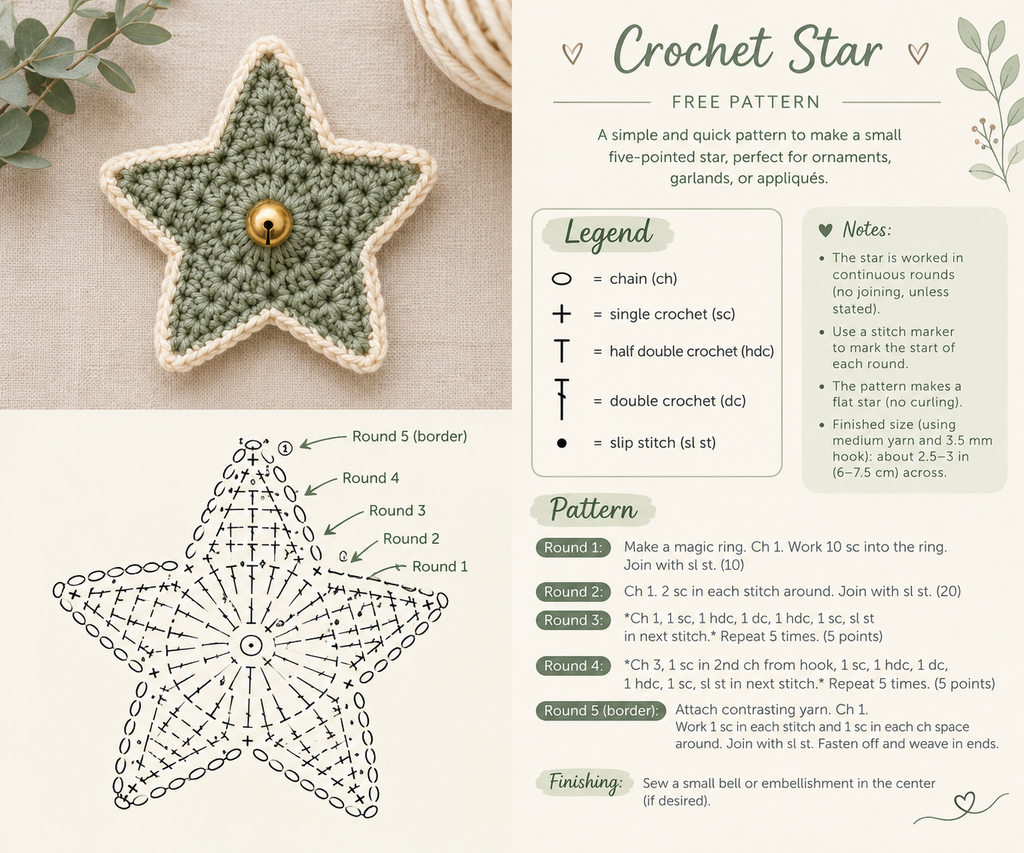
R1: 5 sc in MR. Pull the ring closed. {5}
R2: 2 sc in each st around. {10}
R3: (sc in next st, 2 sc in next st) x 5 {15}
R4: (sc in next 2 sts, 2 sc in next st) x 5 {20}
Sl st into the next stitch to even out the round.
You now have a small flat disc about 1.75 inches across. Lay it on the table. It should sit flat without cupping upward or rippling at the edge. If it cups, your tension is too tight for the increases. If it ripples, you have too many stitches somewhere.
The Points
Here is the part that makes this star work.
Each point is a chain worked outward from a single stitch, then worked back down to that same stitch. The chain forms the spine of the point, and the stitches worked back along it give the point its taper, narrow at the tip and wide at the base.
R5: Work the following five times around:
Ch 6. Sc in the 2nd ch from hook. Sc in the next ch. Hdc in the next ch. Dc in the next 2 ch. Sl st into the same stitch of R4 that you started this point from. Sl st in the next 3 sts of R4.
That full sequence makes one point and moves you four stitches along, which is exactly one fifth of the round. Five repeats consumes all 20 stitches and brings you back to where you began.
After the fifth point, sl st into the first stitch to close. Fasten off, leaving a 6 inch tail.
{5 points}
What’s happening there
The graduated stitches are doing the shaping. A sc is short, a dc is tall, so working sc at the tip and dc at the base makes the point widen naturally as it comes back down to the circle. Use all sc and you get a thin spike. Use all dc and you get a stubby triangle.
If your points look floppy, work the dc section a little tighter. The base is what holds the point upright.
The Border (optional but worth it)
A border in a contrast color sharpens the whole shape and hides any wobble in your point edges.
Join your contrast yarn at the base of any point with a sl st.
Work sc evenly around the entire outline of the star, placing 3 sc in each point tip and skipping one stitch in each inner valley where two points meet.
Sl st to join. Fasten off and weave in.
On stitch counts for this round: I have deliberately not given one. Border counts on a shaped piece vary with your tension and how you read each edge stitch, and a number you cannot hit is more frustrating than no number at all. Work until it looks even, then stop.
The test: lay the star flat. If the border ruffles, you added too many stitches. If the points pull inward or curl, you added too few. Adjust and redo. It is one round.
Adding the Bell
Center bell. Thread your tapestry needle with the tail from R5 or a fresh length. Position the bell in the middle of the star, over the magic ring. Stitch through the bell’s loop and into several R1 and R2 stitches, going around four or five times. Knot on the back and bury the end.
Go around more times than feels necessary. The bell is the one part of this ornament that gets handled, and it will be on a tree with children and possibly a cat.
Hanging loop. Join yarn at one point tip, ch 25, and sl st back into the same stitch. That gives a loop of about 4 inches. Weave the ends in along the point rather than across the star front.
Variations
| Variation | What to change |
|---|---|
| Five tip bells | Sew a small 6mm bell at each point tip instead of one at the center. Noisier, more delicate, better on a wreath than a tree |
| Longer points | Ch 8 instead of 6, and work sc, sc, hdc, hdc, dc, dc back down. Gives a sharper, more pointed star |
| Chunky version | Worsted yarn with a 4.0mm hook. About 5 inches across and much faster |
| Garland | Make seven stars and link them with a chain between tip loops |
| Flat, no bell | Skip the bell entirely and use them as gift tags. Thread the hanging loop through the ribbon |
On the garland: space the stars about 6 inches apart on the connecting chain. Closer than that and they overlap and the point shape disappears.
Troubleshooting
My center disc cups upward. Tension is too tight through the increase rounds. Loosen slightly, or go up half a hook size for the first four rounds only.
My center disc ripples at the edge. Too many stitches. Count R4 against the 20 in brackets.
My points are different lengths. Your starting chains are not all the same tension. Chains are the easiest thing in crochet to work inconsistently. Count each one and keep them loose and even.
My points flop over. The dc section at the base is too loose. That is the structural part. Work those two stitches firmly.
My border ruffles. Too many stitches around the outline, usually in the valleys. Skip a stitch at each inner corner where two points meet.
The star will not lie flat. Block it. Pin each point out on a towel, spray with water, and leave overnight. Cotton holds a blocked shape well.
Making a Set
These are better in a group than alone, and they batch well.
Work all the center discs first. Five or six in a row, and the rounds become automatic by the third one.
Then all the points. You will be noticeably faster by the last star.
Then all the borders, bells and loops in one sitting. Finishing is the part everyone rushes at midnight. Doing it as its own session with decent light is what separates a neat ornament from a rushed one.
A set of six takes roughly three hours this way, which is less than six separate half hours.
FAQ
How do you crochet a star shape?
The easiest method is to work a small flat circle first, then build each point outward from an evenly spaced stitch on that circle. Working a chain out and crocheting back down it gives points that taper naturally and come out identical.
What size hook for crochet ornaments?
Go one or two sizes smaller than your yarn label suggests. For DK weight cotton, use a 3.5mm hook. Dense fabric keeps points sharp and stops the ornament drooping on a branch.
What yarn is best for crochet Christmas ornaments?
Cotton or a cotton blend. It holds a crisp shape, blocks well, and does not stretch out over a season of hanging. Avoid acrylic for anything with points, and avoid fuzzy yarn entirely since it hides the shape.
How much yarn does one crochet star use?
About 25 yards of DK weight for a four inch star, plus a few yards for the border. One standard ball makes a dozen or more.
Are crochet ornaments with bells safe for kids or pets?
Sew the bell through its loop several times over and knot securely on the back. Even then, hang bell ornaments on upper branches if you have a toddler or a cat, since a small bell is a choking hazard if it works loose.
Can I make this star bigger?
Yes. Add an increase round to the center disc, which takes it to 25 stitches, and lengthen the starting chain of each point to 8. Keep the base stitch count divisible by five so the points stay evenly spaced.
Can I sell what I make from this pattern?
Yes, sell finished ornaments freely. Please do not copy or redistribute the written pattern itself. A link back is always appreciated.
One Evening, A Whole Tree
Five points, one bell, half an hour each. Make six in an evening and you have changed what the tree looks like.
The color thing is worth repeating, though. Everybody’s tree has red on it. A set of cream, sage and terracotta stars with small gold bells looks like it came from somewhere, and it costs exactly the same as a set of red ones.
If you make some, tag me or send a photo through the Contact Us
More Christmas crochet: 25 quick crochet gifts under 2 hours
More free patterns: The pattern library
