


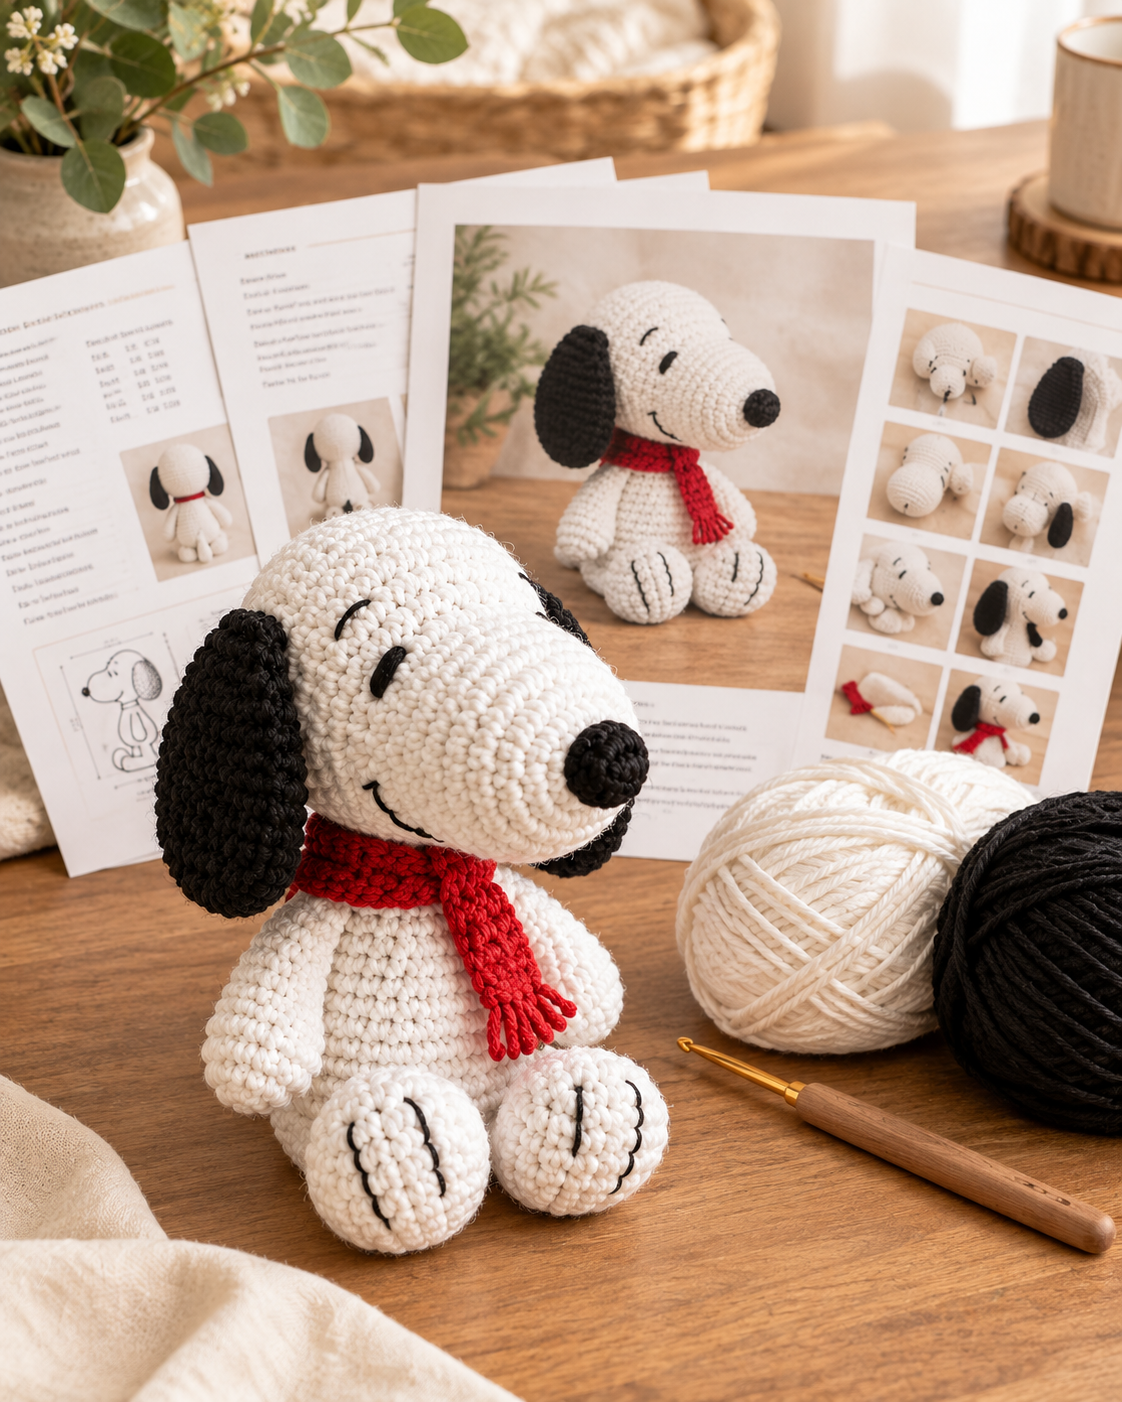
Every amigurumi maker ends up making a dog eventually. They are the project people actually ask you for, and a small crocheted puppy sitting on a shelf gets picked up by every single person who walks past it.
This one is a sitting puppy with floppy ears, a stitched face and a little tail. He stands about 6 inches tall and takes an afternoon.
More importantly, he is built from six simple pieces, all worked in plain single crochet. So there is no complicated shaping to follow, and if you can make a ball and a tube, you already have everything you need.
New to working in the round? Learn the [“Magic Ring”] first, because every piece here starts with one.
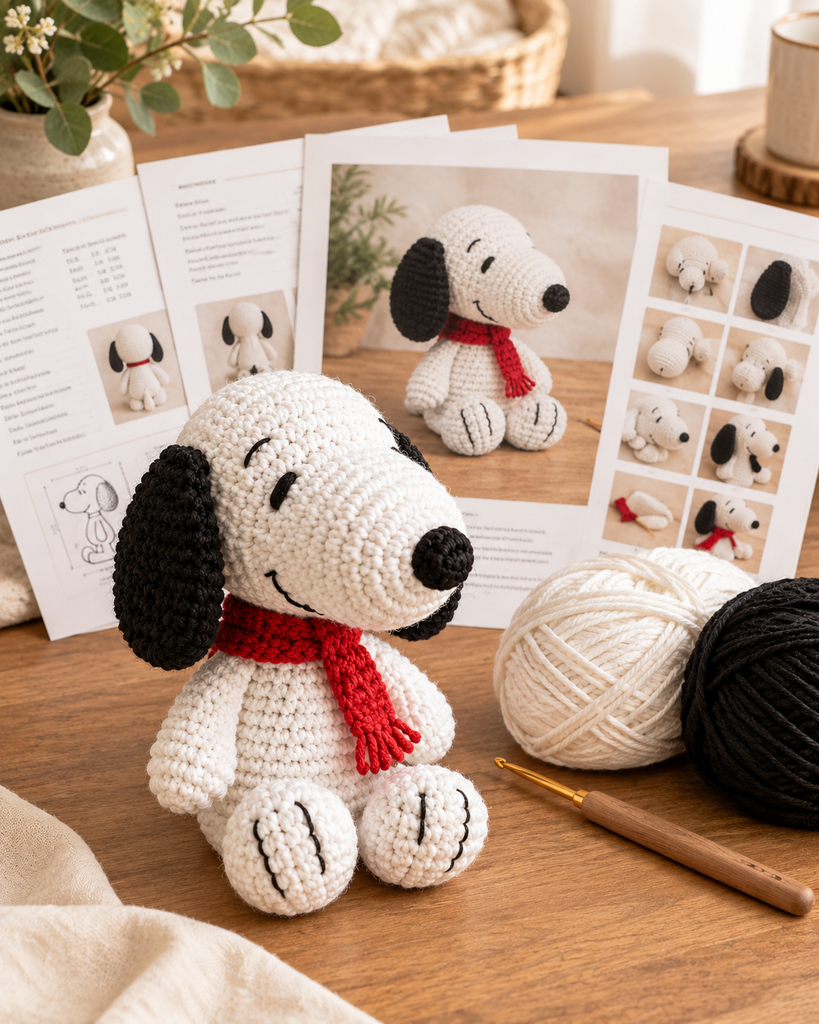
What You’ll Make
| Finished size | About 6 in (15 cm) sitting |
| Time | 3 to 4 hours |
| Skill level | Advanced beginner |
| Pieces | Head, muzzle, body, 2 ears, 4 legs, tail |
What you need to know already: the magic ring, single crochet, increases and decreases. That is the whole skill list.
Materials
- Worsted weight (4) yarn, about 100 yds cream and 30 yds tan or brown
- Small amount of black yarn for the nose and eyes
- 3.5mm (E/4) hook
- Polyester fiberfill
- Blunt tapestry needle, scissors, stitch marker
- Ball-point pins for positioning the face
Why a 3.5mm hook with worsted yarn? The label will suggest 5.0mm or bigger. Go smaller deliberately, because a tight fabric stops the stuffing showing through the gaps. Loose amigurumi looks lumpy no matter how neat your stitches are, and this is the fix.
Cotton beats acrylic here. Cotton gives crisper stitch definition and holds a firmer shape, which matters a lot on a small stuffed figure. Acrylic works and is softer, but the details blur slightly.
[ “Full beginner tool and yarn guide”]
Abbreviations
US crochet terms throughout.
| Short form | Full term |
|---|---|
| MR | Magic ring |
| sc | Single crochet |
| inc | Increase, 2 sc in the same stitch |
| dec | Decrease, 2 sts worked together |
| st(s) | Stitch(es) |
| R | Round |
| ( ) x 6 | Work the bracket 6 times |
| { } | Stitch count at the end of that round |
| FO | Fasten off |
[“Full US and UK abbreviations chart”]
How Amigurumi Actually Works
If this is your first stuffed figure, the logic is worth understanding before you start, because it makes every pattern easier to read.
Every piece is a tube or a ball, and both come from the same three moves.
You increase to make the piece wider. You work straight to make it taller without changing the width. Then you decrease to close it back up.
That is it. A head is increase, straight, decrease. A leg is increase, straight, a small decrease. A muzzle is just increase and straight, left open so you can sew it on.
So when you look at a long list of rounds, you are really looking at three phases. Once you spot where each phase starts and ends, the pattern stops being a wall of numbers.
Pattern Notes
Work in a continuous spiral. Do not join at the end of rounds and do not chain. Just keep going into the next stitch.
Use a stitch marker in the first stitch of every round and move it up as you go. Without a join, this is the only way to know where you are, and a lost marker is the number one reason amigurumi comes out lopsided.
Count every round. The number in curly brackets tells you what you should have. If the count is off, fix it now rather than four rounds later.
Stuff firmly as you go, not all at the end. Once a piece narrows past about 18 stitches you cannot get your fingers in, so stuff before you close.
Leave long tails on any piece you will sew on. Six inches minimum. Short tails are how legs fall off.
The Pattern
Head (cream)
R1: 6 sc in MR {6} R2: inc x 6 {12} R3: (sc, inc) x 6 {18} R4: (2 sc, inc) x 6 {24} R5: (3 sc, inc) x 6 {30} R6: (4 sc, inc) x 6 {36} R7 to 13: sc in each st around {36} R14: (4 sc, dec) x 6 {30} R15: (3 sc, dec) x 6 {24} R16: (2 sc, dec) x 6 {18}
Stuff firmly now. The head should hold its shape when you squeeze it.
R17: (sc, dec) x 6 {12} R18: dec x 6 {6}
FO, leaving a short tail. Thread it through the front loop of the remaining 6 sts, pull tight to close, and weave in.
Muzzle (cream)
R1: 6 sc in MR {6} R2: inc x 6 {12} R3: (sc, inc) x 6 {18} R4 to 6: sc in each st around {18}
FO, leaving a long tail for sewing. Stuff lightly, just enough to round it out.
Body (cream)
R1: 6 sc in MR {6} R2: inc x 6 {12} R3: (sc, inc) x 6 {18} R4: (2 sc, inc) x 6 {24} R5: (3 sc, inc) x 6 {30} R6 to 12: sc in each st around {30} R13: (3 sc, dec) x 6 {24} R14 to 15: sc in each st around {24} R16: (2 sc, dec) x 6 {18}
Stuff firmly.
R17: sc in each st around {18} R18: (sc, dec) x 6 {12}
FO, leaving a long tail for sewing to the head.
The narrow end is the neck. Because the body stays wide at the base and narrows at the top, it sits naturally without toppling.
Ears (make 2, tan)
R1: 4 sc in MR {4} R2: inc x 4 {8} R3: (sc, inc) x 4 {12} R4 to 10: sc in each st around {12} R11: (sc, dec) x 4 {8} R12: sc in each st around {8}
FO, leaving a long tail. Do not stuff. Flatten the ear between your fingers so it hangs properly.
Legs (make 4, cream)
R1: 6 sc in MR {6} R2: inc x 6 {12} R3 to 6: sc in each st around {12} R7: (2 sc, dec) x 3 {9} R8: sc in each st around {9}
Stuff lightly. FO, leaving a long tail.
All four legs are identical. Two become front legs and two become back paws, and the difference is entirely in where you sew them.
Tail (tan)
R1: 4 sc in MR {4} R2 to 8: sc in each st around {4}
FO, leaving a long tail. Do not stuff, because a four stitch tube holds its shape on its own.
Assembly
This is where the puppy becomes a puppy, and where most of the personality comes from. So take your time.
1. Pin before you sew
Use ball-point pins to position every piece first, then step back and look at it from a few feet away. Amigurumi faces read completely differently at arm’s length than they do up close.
Nothing gets sewn until the whole face is pinned and you are happy with it.
2. The muzzle
Pin it to the lower front of the head, centred, roughly over rounds 9 to 14. Sew all the way around with small stitches in the same colour so the join disappears.
3. The nose and mouth
With black yarn, embroider a small triangle or oval at the top centre of the muzzle. Then stitch a short vertical line down from the nose, and a small curve out to each side for the mouth.
Count stitches to keep it symmetrical. Mark the centre of the muzzle with a pin, then count the same number of stitches left and right for each side of the mouth. Eyeballing it is how you end up with a crooked smile.
4. The eyes
Embroider two small black ovals about 4 or 5 stitches apart, sitting just above the muzzle on either side.
Eye placement decides the whole expression. Closer together and higher reads younger and sweeter. Wider apart and lower reads more alert. Pin two scraps of black yarn in place and move them around before you commit.
Use a double strand for the eyes and a single strand for the mouth, since that weight difference makes the face read properly.
5. The ears
Sew the flattened ears to the sides of the head, roughly at round 8 or 9, level with the top of the eyes. Attach only the top edge so the rest hangs free.
6. The body
Sew the neck of the body to the underside of the head. This is the weakest joint on the whole figure, so go around twice with small firm stitches, and make sure both the head and the neck are stuffed tightly before you start.
7. Legs and tail
Sew the two front legs to the front of the body at around round 14, angled slightly forward.
Sew the two back legs lower down at the base, angled out to the sides so they act like feet. Then stand the puppy on a flat surface and check he balances before you finish the stitching.
Finally, sew the tail to the centre back at around round 4.
Make It Your Own
- Change the colours. Cream and tan gives a beagle look. Grey and white reads husky. All black with a tan muzzle makes a rottweiler.
- Add a collar. Chain 20 in a contrast colour, sew around the neck, and add a tiny bead as a tag.
- Add patches. Cut small ovals of tan fabric or crochet flat circles and sew them to the body for a spotted look.
- Longer ears. Add 4 or 5 straight rounds to the ears for a hound.
- Safety eyes. Use 8mm safety eyes instead of embroidery, but insert them before you stuff and never on a toy for a child under three.
Troubleshooting
The stuffing shows through. Your fabric is too loose. Go down a hook size and work a little tighter. This is always a tension issue rather than a stuffing issue.
The head flops over. Both the head and the neck need firmer stuffing, and the joint needs more stitches. Sew around the neck twice.
My face looks wrong and I cannot say why. It is almost always eye placement. Unpick and move them a stitch closer together, then look again from a few feet back.
The puppy will not sit up. The back legs are too far forward or too far back. Unpin and reposition until he balances, then sew.
My rounds are lopsided. A lost stitch marker. Count each round against the number in brackets, and find the round where it went wrong rather than trying to correct it later.
FAQ
What is amigurumi?
Amigurumi is the Japanese craft of crocheting small stuffed figures, usually animals or characters. Pieces are worked in continuous spiral rounds of single crochet, stuffed, and then sewn together.
Is amigurumi hard for beginners?
Not especially. You only need the magic ring, single crochet, increases and decreases. The harder part is assembly, because sewing pieces on straight and placing a face well takes more judgement than skill.
What hook size for amigurumi?
Go one or two sizes smaller than your yarn label suggests. For worsted weight yarn, use a 3.5mm or 4.0mm hook. A tighter fabric stops the stuffing showing through.
What yarn is best for amigurumi?
Cotton or a cotton blend gives the crispest stitch definition and holds its shape best. Acrylic is cheaper and softer but slightly blurs the detail. Avoid fuzzy yarn entirely, since it hides every stitch.
How much yarn does an amigurumi dog use?
Around 100 yards of worsted weight for the main colour and 30 yards for the contrast, at about 6 inches tall. One skein of each covers it with plenty left over.
How do you stop amigurumi coming apart?
Stuff firmly, leave long tails, and sew every joint twice with small stitches. The neck is always the weakest point, so give it the most attention.
Is this amigurumi dog safe for a baby?
Use embroidered eyes rather than safety eyes or buttons, sew every piece on securely, and weave ends in thoroughly. Even then, supervise, since any small stuffed toy carries some risk for a child under three.
One Afternoon, One Puppy
Six pieces, one stitch, and a face you pin twice before you sew.
The thing nobody tells you about amigurumi is that the crochet is the easy part. Assembly is where the character appears, so give that stage as much time as the stitching and you will end up with something that looks like it has an opinion about you.
If you make one, tag me or send a photo through the [“Contact Page”].
More free patterns: ¨Browse the Pattern Library”] | Start here:“The Magic Ring”]
