


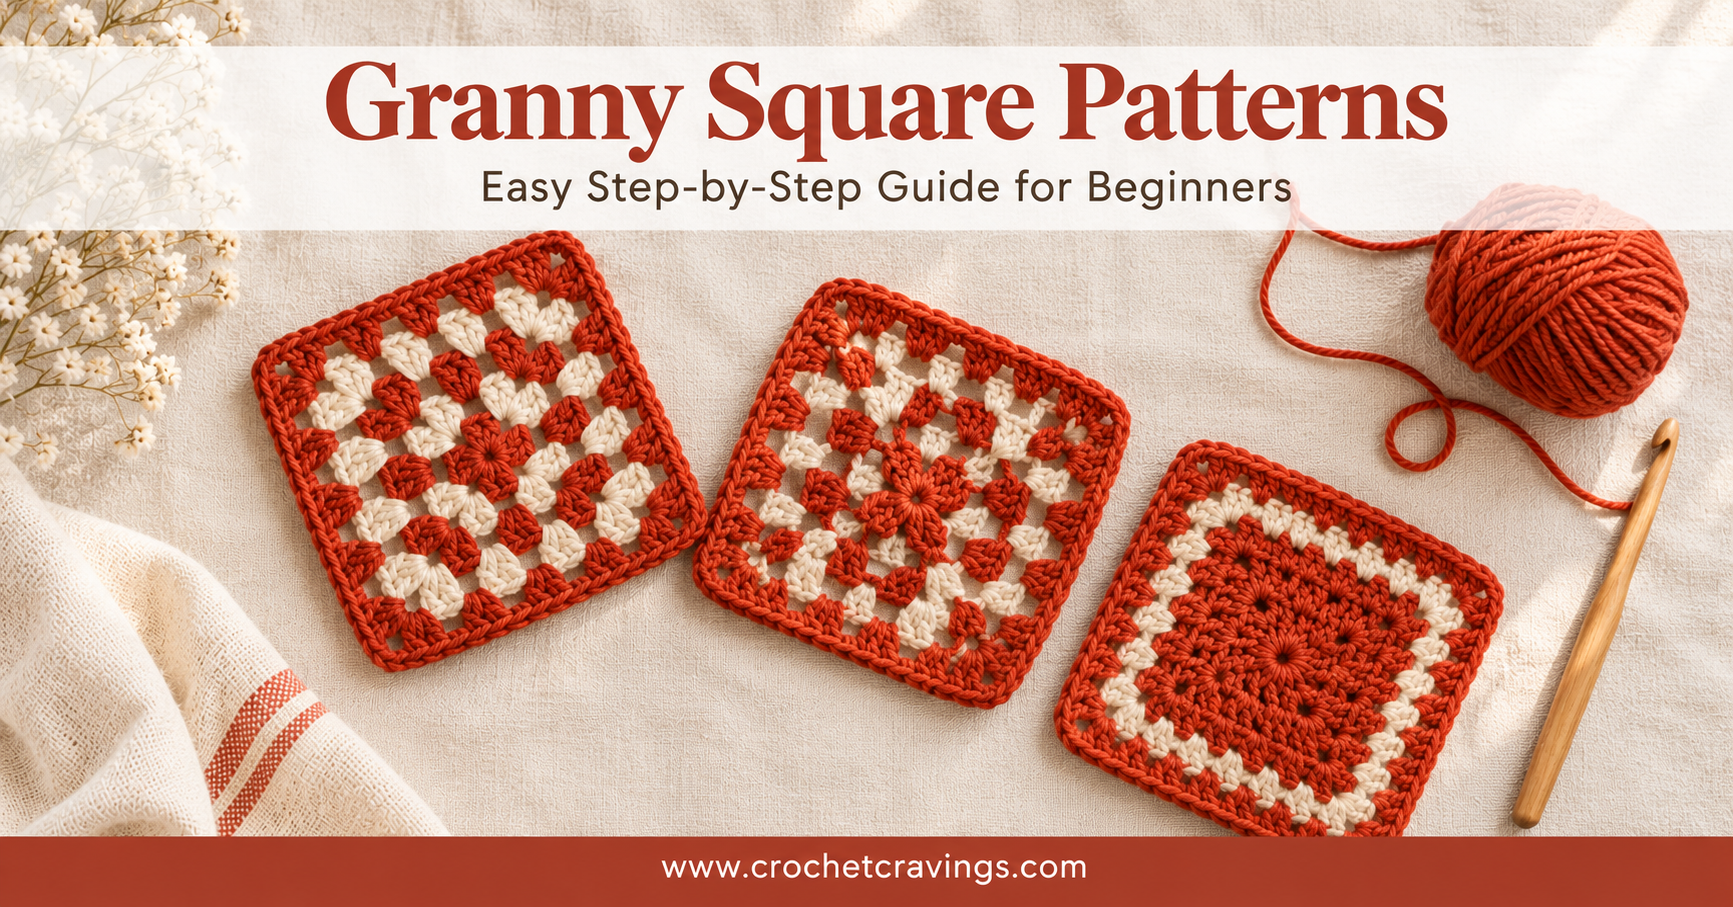
Why Everyone Loves the Crochet Granny Square
If you only learn one crochet motif, make it the granny square. It is small, quick to finish, and uses just a few basic stitches. Once you know it, you can turn a pile of little squares into a blanket, a cushion, a bag, or even a cardigan.
In this guide, you will learn how to crochet a granny square step by step. Then we will walk through four easy granny square patterns that build on the classic: the solid, the sunburst, the hexagon, and a simple two-color version. No experience? No problem. Every pattern here is beginner-friendly.
Abbreviations used (US terms): ch = chain, sl st = slip stitch, dc = double crochet, hdc = half double crochet, sp = space.
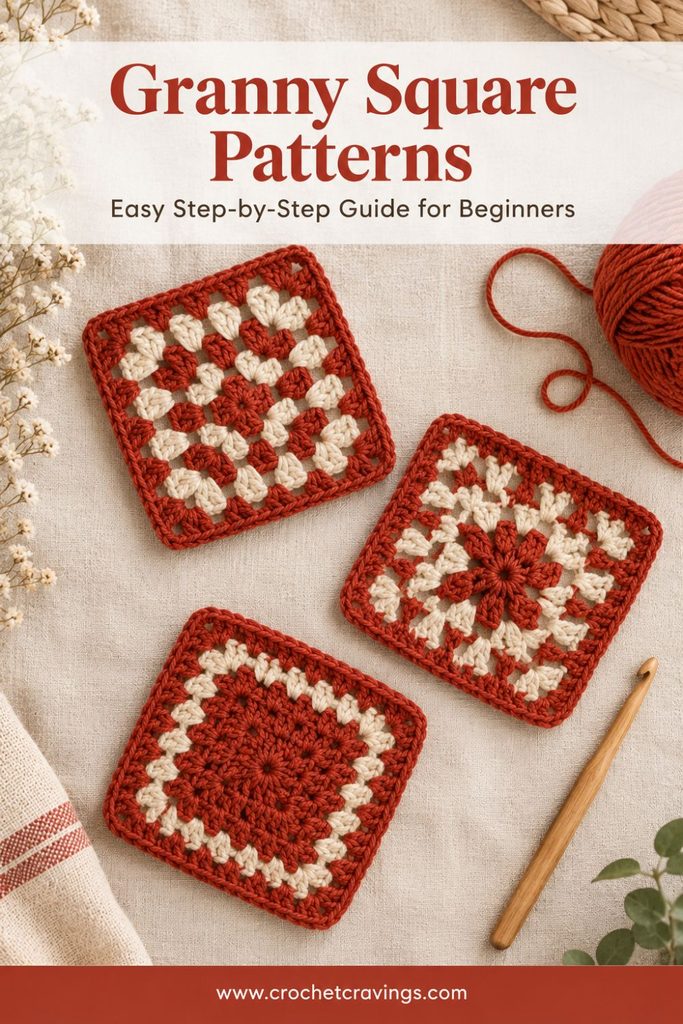
What You Need to Get Started
You only need yarn, a hook, scissors, and a tapestry needle for weaving in ends. Medium (worsted) weight yarn is the easiest to learn with because the stitches are big enough to see clearly.
| Pattern | Best yarn | Hook size |
|---|---|---|
| Classic granny square | Worsted weight | 5 mm (H/8) |
| Solid granny square | Bulky weight | 5.5 mm (I/9) |
| Sunburst granny square | Soft acrylic or cotton | 4.5 mm (G/7) |
| Hexagon granny square | Medium weight | 5 mm (H/8) |
| Two-color granny square | Worsted, 2 colors | 5 mm (H/8) |
Stitches you should know: chain, slip stitch, double crochet, and the magic circle. The sunburst also uses half double crochet.
Chain Stitch Tutorial
How to Crochet a Classic Granny Square (Step by Step)
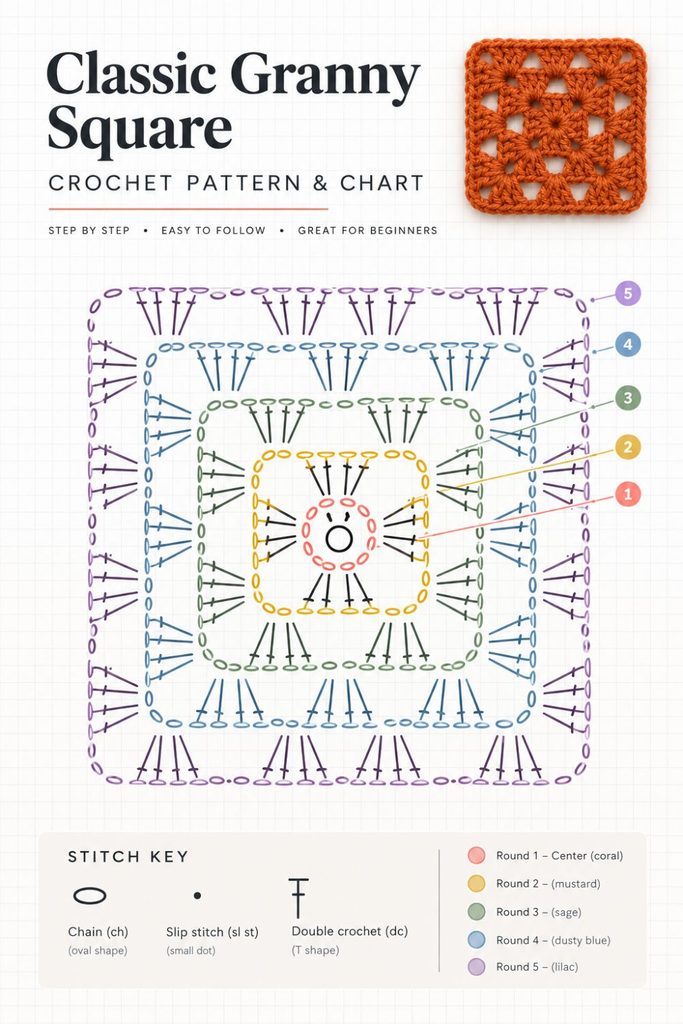
The classic granny square is made of groups of 3 double crochets, called clusters. Every corner gets two clusters with a little chain gap between them. That is the whole secret.
- Make the center ring. Chain 4 and join with a slip stitch to the first chain. A magic circle works too.
- Round 1. Chain 3 (this counts as your first dc). Work 2 dc into the ring, then ch 2. Repeat [3 dc, ch 2] three more times. You now have four clusters. Slip stitch into the top of the starting ch 3.
- Round 2. Slip stitch over to the first ch-2 corner space. Ch 3, then work (2 dc, ch 2, 3 dc) in that same space. Ch 1. In each of the next three corners, work (3 dc, ch 2, 3 dc), with ch 1 between corners. Join with a slip stitch.
- Round 3 and beyond. Work (3 dc, ch 2, 3 dc) in every corner. In each ch-1 space along the sides, work 3 dc, with ch 1 between clusters. Join at the end of each round.
- Finish. Keep adding rounds until your square is the size you want. Fasten off and weave in the tail.
Quick check: Each new round adds one extra cluster to every side. If your count is off, look for a skipped corner.
4 Easy Granny Square Pattern Variations
Once the classic feels comfortable, try these. Each one changes just one or two things, so you are never starting from zero.
1. Solid Granny Square
The solid granny square has no gaps, so it makes a thick, warm fabric. It is great for cushions and sturdy blankets.
- Start with a ring and four 3-dc clusters, just like the classic.
- From Round 2 on, work 1 dc into every stitch along the sides instead of skipping spaces.
- In each corner, work (2 dc, ch 2, 2 dc).
- Tip: gradient or self-striping yarn shows off the stitches beautifully.
2. Sunburst Granny Square
The sunburst granny square starts as a circle and ends as a square. The round center looks like a little flower or sun.
- Round 1: In a magic circle, work 16 dc. Join.
- Round 2: Work 2 hdc in every stitch for 32 stitches.
- Round 3: Build four corners with (dc, ch 1, 2 dc), and work 7 dc along each side.
- Tip: Use a bold contrast color for the center and keep those first stitches snug.
3. Hexagon Granny Square
The hexagon has six sides instead of four. Hexagons fit together like a honeycomb, which looks amazing in a blanket.
- Round 1: Work 12 dc into a ring. Join.
- Round 2: Work (2 dc, ch 1) all the way around.
- Round 3: Make six corners with (2 dc, ch 1, 2 dc), with 2-dc groups between them.
- Tip: Use an invisible join at the end of each round for a neat, seamless look.
4. Two-Color Granny Square
The two-color granny square is the easiest way to play with color. You only need two skeins.
- Work Rounds 1 and 2 of the classic square in your first color.
- Fasten off, then join the second color in any corner space.
- Keep repeating the Round 2 pattern to grow the square.
- Tip: Pair a bold color with a neutral, or try two soft pastels.
Joining Granny Squares and Project Ideas
The simplest way to join granny squares is to place two squares side by side and sew through the back loops with a tapestry needle (the whip stitch). If you prefer to stay with your hook, slip stitch or single crochet the edges together for a visible ridge. Block your squares first so they line up evenly.
What can you make with granny squares?
- Granny square blanket or throw: the classic project, perfect for using up scrap yarn.
- Baby blanket: soft cotton or acrylic in pastel shades.
- Scarf: one long strip of joined squares.
- Cushion covers: two large solid squares make a quick pillow.
- Table runner: a row of squares down the middle of the table.
- Cardigans and vests: a fun, vintage-style look.
- Honeycomb blanket: made from hexagon granny squares.
Beginner Tips and Common Mistakes
Most granny square problems come from uneven tension or missed corners. These tips fix almost all of them.
- Keep your tension even. Tight and loose stitches in the same square make it wavy or twisted.
- Count your corners. A square always has four (a hexagon has six). Missing one is the most common beginner mistake.
- Don’t forget the turning chain. Ch 3 at the start of each round counts as your first dc.
- Change colors at the start of a round. This keeps color changes hidden in the corner.
- Weave in ends as you go. Fifty squares with two tails each is a lot of weaving to save for the end.
- Block before joining. A light steam or wet block makes every square the same size and shape.
Granny Square FAQs
Is a granny square good for beginners? Yes. It uses only chains, slip stitches, and double crochet, and you finish one square in under an hour.
What is the best yarn for granny squares? Worsted (medium) weight acrylic or cotton. It is affordable, easy to see, and holds its shape well.
How many granny squares do I need for a blanket? It depends on square size. A throw usually needs around 48 to 63 squares of about 6 inches (15 cm). Make one square, measure it, then divide your blanket size by that number.
Why is my granny square twisting? Usually your tension is too tight, or you are always starting rounds in the same spot. Try a bigger hook or turn your work every round.
Start Your First Granny Square Today
Granny squares are proof that small projects add up to something big. Start with the classic, then try the solid, sunburst, hexagon, and two-color patterns as you grow. Grab some yarn, pick a pattern, and make your first square tonight.
