


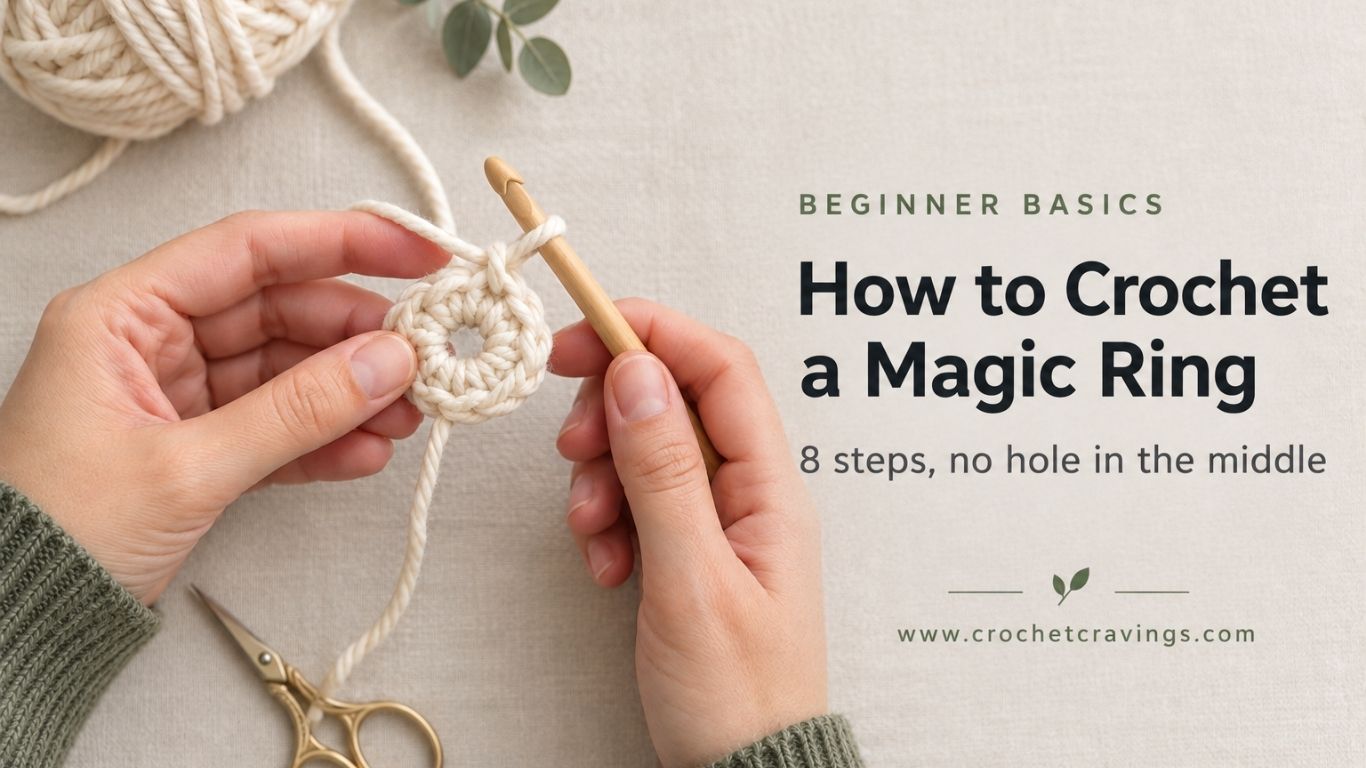
If you have ever finished an amigurumi head and found a sad little hole staring back at you, the magic ring is the fix.
It is the single technique that separates a lumpy first attempt from something that looks store bought. And here is the good news: it takes about ten minutes to learn and you will never have to think about it again.
This guide walks you through the magic ring one step at a time, in plain language, with the exact fixes for the three things that go wrong for almost everyone. By the end you will be able to start any project in the round with a closed, invisible center.
Never crocheted in the round before? Start with [Crochet For Beginners “our crochet basics guide”] and come back here.
What Is a Magic Ring in Crochet?
A magic ring is an adjustable starting loop that you crochet your first round of stitches into, then pull tight to close completely.
You will see it called a few different things and they all mean the same thing:
- Magic circle
- Magic loop
- Adjustable ring
- Adjustable loop
The old fashioned alternative is to chain 4 and join with a slip stitch to make a ring. That works, but it leaves a permanent hole in the middle because a chain ring cannot be tightened. Fine for a granny square. Not fine for a stuffed bunny.
The magic ring cinches shut like a drawstring bag. No hole, no stuffing peeking through, no gap.
When Should You Use a Magic Ring?
Use a magic ring any time you start a project in the round and want a closed center:
- Amigurumi of every kind, since stuffing shows through even small gaps
- Hats worked from the crown down
- Round coasters, placemats, and rugs
- Flowers and appliques where the center should look neat
- Baskets and bowls worked in a spiral
Skip it when you actually want a hole in the middle, like a doily, a scrunchie, or a granny square where the open center is part of the design.
What You Need
Nothing special. Just:
- Your yarn (a smooth, light coloured worsted weight is easiest while you learn)
- The hook size your pattern calls for
- A stitch marker
- A tapestry needle for weaving in the tail later
Tip while learning: grab a chunky, light coloured yarn and a bigger hook than usual. Big stitches are much easier to see, and you can spot exactly what your hands are doing. Switch back to your project yarn once it clicks.
Crochet Abbreviations Used in This Guide
Patterns are written in shorthand, so this guide is too. Bookmark this chart, it covers almost everything you will meet as a beginner.
| Short form | Full term | What it means |
|---|---|---|
| MR | Magic ring | The adjustable starting loop in this guide (also written MC or AR) |
| ch | Chain | The basic loop stitch, used to start rows and as spacing |
| sl st | Slip stitch | Flattest stitch, used to join rounds and move across stitches |
| sc | Single crochet | The short, dense stitch used for most amigurumi |
| hdc | Half double crochet | One step taller than sc |
| dc | Double crochet | Tall, open stitch used for blankets and granny squares |
| tr | Treble crochet | Taller again, one more yarn over than dc |
| YO | Yarn over | Wrapping the yarn over your hook |
| st / sts | Stitch / stitches | A single completed stitch |
| rnd | Round | One full circuit when working in the round |
| inc | Increase | Two sts worked into one st |
| dec | Decrease | Two sts worked together into one |
| rep | Repeat | Do the instruction again |
| ( ) or [ ] | Repeat group | Work everything inside, the number after tells you how many times |
One important warning: these are US terms. UK patterns use the same letters for different stitches. A UK “dc” is a US “sc”. If a pattern looks wrong, check which country the designer writes for before you frog anything.
| US term | UK equivalent |
|---|---|
| sc (single crochet) | dc (double crochet) |
| hdc (half double crochet) | htr (half treble) |
| dc (double crochet) | tr (treble) |
| tr (treble crochet) | dtr (double treble) |
[Crochet Abrevation Chart “Full printable crochet abbreviations chart”]
How to Crochet a Magic Ring: Step by Step
These steps are written for right handed crocheters. If you are left handed, swap “left” and “right” throughout and everything else works identically.
Step 1: Make a loop over your fingers
Hold the yarn tail in your left hand with about 6 inches hanging free. Drape the working yarn (the strand going to the ball) over your index and middle fingers, then bring it around to form a loop.
Leave a generous tail. Short tails are the number one reason magic rings come undone later.
Step 2: Cross the yarn to make an X
Bring the working yarn across the tail so the two strands cross and form an X shape at the bottom of your loop.
The working yarn should end up on top.
Step 3: Pinch the X
Hold the crossing point between your left thumb and middle finger. Pinch it firmly.
This is the part everyone rushes. If the X slips while you work your first stitches, the whole ring falls apart. Pinch it like you mean it.
Step 4: Hook the working yarn
Insert your hook into the loop, going under the front strand. Catch the working yarn with your hook and pull it back through the loop toward you.
You now have one loop on your hook.
Step 5: Make the anchoring chain
YO and pull through the loop on your hook. That is 1 ch.
This ch does not count as a st. It just locks the ring so it does not unravel while you work. Do not count it when your pattern says 6 sc in MR.
Step 6: Work your first round into the ring
Now work your sts directly into the ring, going around both strands of the loop, not just one.
For a standard amigurumi start that is 6 sc in MR. Insert your hook into the center of the ring under both strands, YO, pull up a loop, YO, pull through both loops. Rep until you have your count.
Keep those sts sliding along the ring rather than bunching up. They should sit side by side like beads on a string.
Step 7: Pull the tail and close the ring
Here is the payoff. Let go of the pinch and pull the yarn tail firmly.
The ring cinches closed and your stitches gather into a tight, seamless circle. If it will not close all the way, gently tug the individual strands of the loop to find the one that controls the drawstring, then pull again.
Step 8: Join or continue in a spiral
What comes next depends on your pattern:
- Working in a spiral (most amigurumi): place a stitch marker in the first st of the rnd and keep going. No join.
- Working in joined rnds: sl st into the first sc, ch 1, then start rnd 2.
Then weave in that tail properly. More on that below, because it matters more than you think.
The 3 Problems Everyone Has (and How to Fix Them)
“My magic ring keeps coming undone”
This is the big one, and it is almost always one of these three causes:
- You only worked around one strand of the loop instead of both. Your stitches have nothing to grip. Frog it and redo, making sure the hook goes under both strands each time.
- Your tail is too short. Once tension pulls on a 2 inch tail it just slides right out. Leave 6 inches minimum.
- You did not secure the tail. After closing the ring, weave the tail through the back of your first round stitches, change direction at least twice, and give it a gentle tug to check. Some crocheters add a tiny knot for toys that will get handled by kids. That is fine, nobody will see it.
[Chain Stitch Techniques“Full guide to weaving in ends securely”]
“My ring will not close all the way”
You have probably pulled the wrong strand. Inside the loop there are two strands, and only one of them is the drawstring. Tug each one gently and watch which makes the circle shrink, then pull that one.
If it is still stuck, your first round stitches may be too tight and gripping the ring. Loosen your tension slightly next time.
“My stitches keep sliding off”
You are not pinching hard enough at step 3, or your yarn is too slippery. Cotton and acrylic behave. Silky bamboo and slick synthetics do not. Practice on something grippy first.
Magic Ring Alternatives
The magic ring is not the only way to close a center, and some people genuinely never get comfortable with it. Here are two solid backups:
| Method | How it works | Best for |
|---|---|---|
| Ch 2 method | Ch 2, work all your first rnd sts into the 2nd ch from the hook, then tighten | Beginners who find the MR fiddly |
| Chainless start | Work directly into a slip knot loop and tighten | Fine yarns where a MR gets bulky |
Both leave a slightly smaller hole than the chain 4 ring, but neither closes as completely as a true magic ring. Worth knowing as a fallback while you practise.
Quick Reference: How Many Stitches in a Magic Ring?
Your pattern will tell you, but here are the standard starting counts:
| Project | First rnd |
|---|---|
| Amigurumi | 6 sc in MR |
| Flat circle in sc | 6 sc in MR |
| Flat circle in hdc | 8 hdc in MR |
| Flat circle in dc | 12 dc in MR |
| Granny square style rnds | 12 dc in MR, or 4 clusters |
The rule of thumb for a flat circle is that you inc by your starting number every rnd. Start with 6 sc, add 6 sts each rnd.
FAQ
What is the difference between a magic ring and a magic circle?
Nothing. Magic ring, magic circle, magic loop, and adjustable ring are all names for the same technique. Different designers just use different words, so do not panic when a pattern switches terms mid way.
Does the starting chain count as a stitch in a magic ring?
No. The ch you make after pulling up your first loop is an anchoring ch only. If your pattern says 6 sc in MR, you work 6 sc and the ch is not one of them.
Why does my magic ring have a hole in the middle?
Usually because the ring was never pulled fully closed, or the stitches were worked too tightly to let it cinch. Pull the correct inner strand firmly before you move on to round 2. Once you have worked several rounds on top it becomes much harder to fix.
Can you make a magic ring with double crochet?
Yes. The ring itself is identical, you just work dc into it instead of sc. For a flat circle you will want around 12 dc in the first rnd. Note that taller sts leave slightly more room for the center to gap, so pull the tail extra firm.
Is the magic ring hard for left handed crocheters?
Not at all. Mirror the instructions, hold the tail in your right hand instead, and everything else is exactly the same. Many left handed crocheters find it easier to learn by watching a video in a mirror or flipping the video horizontally.
How do I stop my magic ring coming undone in a toy?
Weave the tail into the back of the first round, reverse direction at least twice, and pull gently to lock it. For toys that will be washed or handled by small children, a small knot before weaving is completely acceptable and invisible from the outside.
You Are Done
That is the whole technique. Loop, cross, pinch, hook, ch 1, 6 sc, pull tight.
Work through it three or four times with chunky yarn and it stops feeling like a party trick and starts feeling like muscle memory. After that, every project in the round gets a clean, closed, professional looking center.
Ready to use it? Try it on and see the difference for yourself.
[Yarn 12 Hooks Kit: Craft Yarn Council standard yarn weight and hook size chart, for readers who want to confirm hook sizing]
